
Electrophoresis is a fundamental laboratory technique used to separate macromolecules such as proteins, DNA, or RNA based on their size and charge. Central to this technique is the electrophoresis tank, an apparatus that provides the controlled environment necessary for molecules to migrate through a gel matrix under an electric field. Proper electrophoresis tank setup is critical to ensure consistent, reliable results, minimize errors, and maintain laboratory safety.
Understanding the Electrophoresis Tank
An electrophoresis tank consists of several key components: the gel holder, buffer reservoirs, electrodes, and a power supply connection. In vertical protein gels (SDS-PAGE), the gel is placed between glass plates inside the tank, whereas horizontal gels, such as agarose gels for DNA or RNA, lie flat in a tray within the tank. Buffer solutions fill the tank to allow current flow, while electrodes create the electric field needed for migration.
Preparing the Gel
Before setting up the tank, the gel must be prepared. For SDS-PAGE, the resolving gel is poured first and allowed to polymerize, followed by the stacking gel with wells formed using a comb. For agarose gels, melted agarose is poured into a casting tray with a comb to form wells and allowed to solidify. Removing the comb carefully is crucial to avoid damaging wells, which could lead to uneven sample loading.
Tank Assembly
Once the gel is ready, it is placed into the electrophoresis tank. Proper orientation is essential: the wells of the gel should face the cathode (negative electrode), as negatively charged molecules, such as DNA or proteins treated with SDS, migrate toward the anode (positive electrode). The tank is then filled with running buffer to cover the gel completely. Running buffer, such as Tris-Glycine for SDS-PAGE or TAE/TBE for DNA gels, conducts electricity and maintains pH during electrophoresis. Avoiding air bubbles under or around the gel is critical, as trapped bubbles can disrupt current flow and distort band migration.
Loading Samples
Samples are mixed with loading buffer, which contains tracking dyes and density agents to facilitate loading and visualization. Carefully pipette samples into wells, taking care not to puncture or spill outside the wells. A molecular weight marker for proteins or a DNA ladder should always be included to provide a reference for band size. Consistent and accurate loading ensures reliable comparisons between samples.
Connecting the Power Supply
After loading, the tank lid is closed, and the electrodes are connected to the power supply. Correct polarity is critical: the negative electrode should be near the wells, and the positive electrode should be opposite. Voltage settings depend on the type of gel and experimental protocol. For SDS-PAGE, the stacking gel often runs at 80–120 volts, while the resolving gel is run at 120–150 volts. Agarose gels are typically run at 70–120 volts. Monitoring the migration of the tracking dye ensures the samples do not run off the gel.
Running and Monitoring
During electrophoresis, molecules migrate according to size and charge. Smaller molecules move faster through the gel matrix than larger ones. Maintaining appropriate voltage prevents overheating, which can cause band smearing or gel distortion. Observation of the dye front helps determine when to stop the run.
Post-Run Procedures
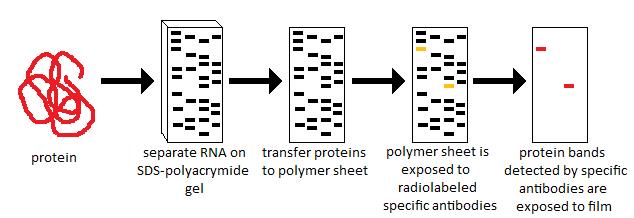
After the run, the power supply is turned off, and electrodes are disconnected before removing the gel. For protein gels, the next step may involve staining or transferring the western blot guide for beginners to a membrane for western blotting. For nucleic acid gels, staining with ethidium bromide or safer alternatives allows visualization under UV or blue light.
Safety and Troubleshooting
Safety is paramount when working with electrophoresis tanks. Always check for leaks or cracks before adding buffer. Never touch electrodes while the power supply is on, and use gloves and protective clothing to handle gels and buffers. Common troubleshooting tips include ensuring even gel polymerization, avoiding bubbles under the gel, and confirming correct electrode orientation.
Conclusion
Setting up an electrophoresis tank properly is a vital step in molecular biology experiments. Careful attention to gel preparation, buffer usage, sample loading, and power supply settings ensures accurate, reproducible separation of proteins and nucleic acids. A well-prepared electrophoresis tank setup not only improves experimental outcomes but also maintains safety and efficiency in the laboratory, making it an essential skill for researchers in life sciences.